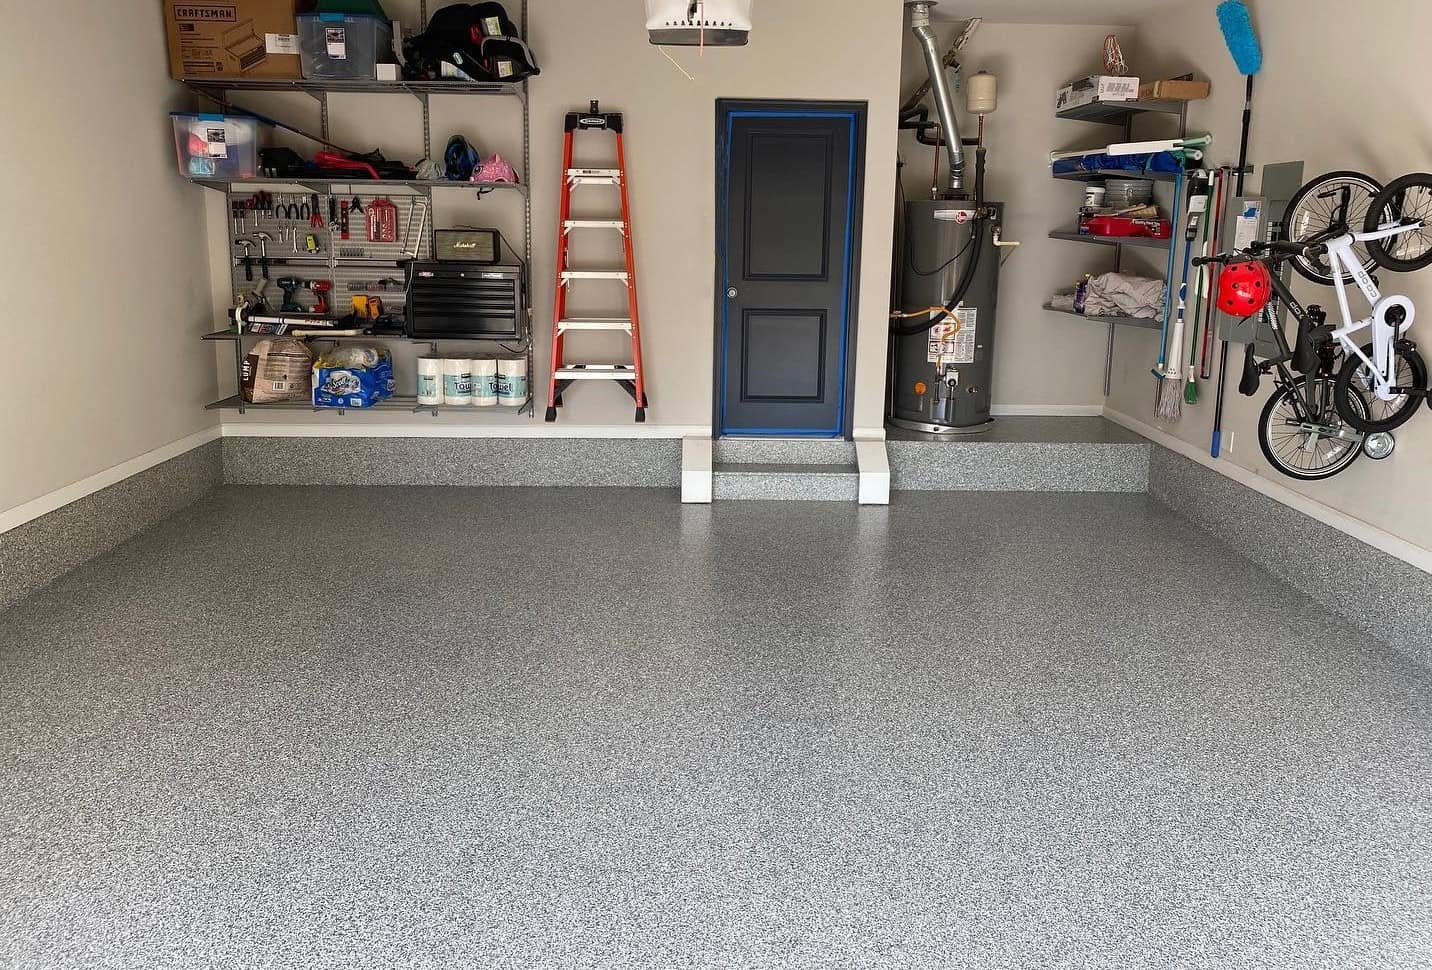
A pitted garage floor can be both unsightly and dangerous. Over time, the concrete in your garage may begin to develop small pits and holes, which can lead to further deterioration if left untreated. Fortunately, fixing a pitted garage floor with epoxy is a proven solution that not only restores the surface but also provides a durable finish that protects the floor from future damage.
In this guide, we’ll explore the step-by-step process to repair and coat a pitted garage floor using epoxy. Whether you’re a DIY enthusiast or planning to hire a professional, this article will provide the necessary insights and techniques for achieving a long-lasting, beautiful garage floor.
Understanding Garage Floor Pitting and Its Causes
Garage floor pitting is a common issue caused by the natural wear and tear of concrete over time. The surface weakens due to factors such as exposure to moisture, freeze-thaw cycles, and the weight of vehicles. These pits, if untreated, can worsen, leading to larger cracks and spalling.
Understanding what causes the pitting helps in addressing it properly. The primary culprits include water infiltration, de-icing salts, improper installation of the concrete, and the natural aging of the material. By knowing these factors, you can take steps to mitigate future damage once the repairs are completed.
Preparing the Garage Floor for Epoxy Repair
Proper preparation is key to ensuring that the epoxy adheres well to the concrete surface. This process involves cleaning, patching, and grinding the floor to create a smooth, solid surface for the epoxy application.
Start by sweeping and cleaning the entire floor to remove dust, debris, and grease. Next, use a pressure washer or stiff brush to thoroughly clean any stubborn stains or oil spots. It’s important to get rid of all contaminants, as any residue left behind can compromise the epoxy’s ability to bond with the concrete.
Repairing the Pits and Cracks on the Concrete Floor
Before applying epoxy, all pits, cracks, and other imperfections on the concrete garage floor must be repaired. You’ll need a concrete patch product specifically designed for filling pitted areas. Polymer-modified cement patches are excellent for this purpose as they offer durability and strength.
Fill the deeper holes and cracks with the patching material, making sure to smooth it out with a putty knife. Allow it to cure according to the manufacturer’s instructions. Once dry, inspect the surface to ensure all imperfections have been filled. A smooth, level surface is essential for a successful epoxy coating application.
Acid Etching or Grinding the Concrete Surface
Once the repairs are complete, the next step is preparing the surface for maximum epoxy adhesion. This can be done either by acid etching or concrete grinding. Acid etching involves applying an acid solution to the concrete to create a rough texture, while grinding uses a mechanical tool to achieve a similar result
- Acid etching: A more affordable option, suitable for DIY projects. Be cautious, as this process requires handling chemicals.
- Grinding: Provides better control over the finish but may require renting special tools like a concrete grinder.
Whichever method you choose, ensure that the surface is thoroughly rinsed and dried before moving on to the next step.
Key Tips for Achieving a Smooth Epoxy Finish
To ensure your epoxy garage floor looks professional, here are some expert tips. Ensure the floor is completely dry before applying epoxy, as moisture can prevent proper adhesion. Use a long-handled brush to reach corners and edges that a roller cannot. Apply the epoxy in thin, even coats for the best coverage and longevity.
Avoid foot traffic on the floor for at least 24-48 hours after applying the epoxy. Following these tips will result in a smooth, durable finish that will last for years.
Choosing Between Epoxy and Polyaspartic Floor Coatings
While epoxy is one of the most popular choices for garage floor coatings, there is another option you might want to consider: polyaspartic coatings. Polyaspartic coatings are known for their quick drying time and high durability, making them an excellent alternative to epoxy.
Epoxy offers a more affordable option, with good protection against chemicals, stains, and wear. Polyaspartic coatings, on the other hand, have a faster drying time and enhanced durability, but tend to be more expensive. Both options provide excellent protection and aesthetics, but your choice will depend on your budget, timeline, and specific garage needs.
Maintaining Your Newly Epoxy-Coated Garage Floor
Once your epoxy-coated floor is in place, maintaining it is relatively easy. Regular cleaning helps prevent dirt buildup and keeps the surface looking fresh. Use a soft broom or mop to remove dust and debris, and wash the floor with mild soap and water when necessary.
Avoid using harsh chemicals or abrasive tools, as these can damage the epoxy finish. By following a simple cleaning routine, you’ll ensure that your epoxy floor continues to shine and resist wear and tear for many years.
Why You Should Hire Garage Floor Coatings Rochester NY
While epoxy repair can be a rewarding DIY project, it can also be time-consuming and physically demanding. Hiring a professional company like Garage Floor Coatings Rochester NY ensures that the job is done right the first time, saving you both time and effort.
Garage Floor Coatings Rochester NY specializes in transforming pitted, damaged floors into beautiful, long-lasting surfaces. With their expertise, you can trust that your garage floor will not only look great but will also stand up to the rigors of daily use.

